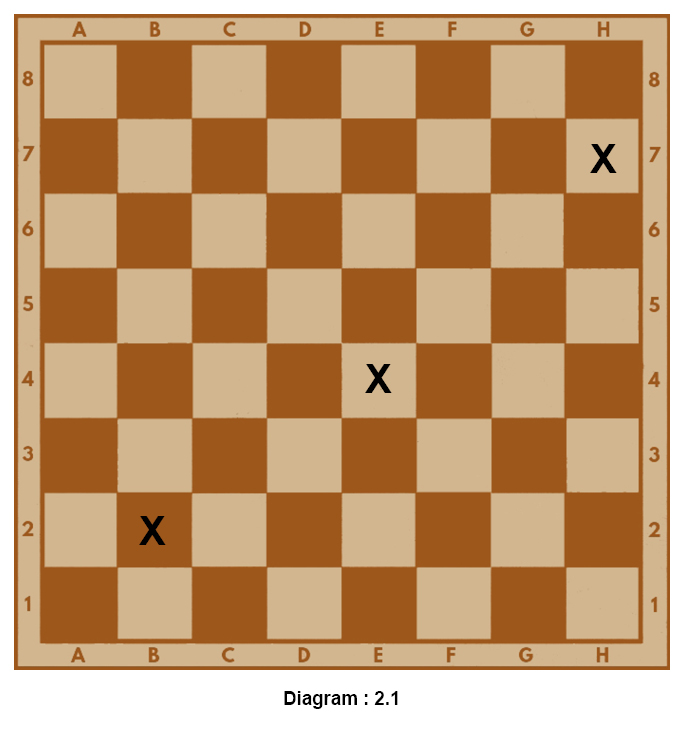
Each square has its own name. Its name is taken first by the 'File' and then by the 'Rank' it is placed on. Say, the left-hand bottom corner — this square is placed on "a" file and on 1st Rank. So, the name of the square is 'al'. Marked squares in the diagram below are 'b2', 'e4' and 'h7'. We shall discuss about writing chess notation afterwards.
Movements of the Chessmen :
We have learnt to set the initial position. Now, let us see how each and every chessman moves and captures.
How the King Moves and Captures :
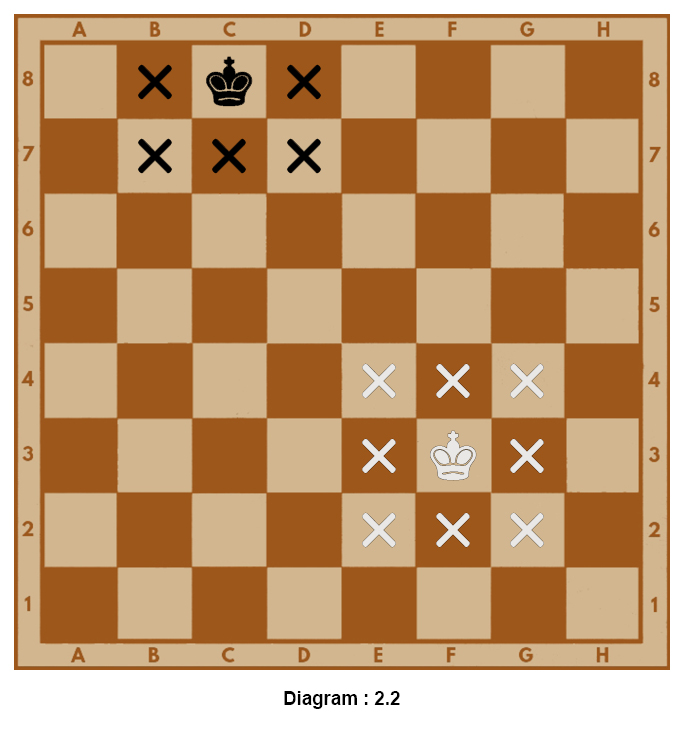
Let us consider the most important piece i.e. the King. Its symbol is 'K'. The King moves one square to any direction as indicated in the diagram (2.2) below.
But while castling, the king moves two squares. We will discuss about castling afterwards.
The King would never move on to squares that are being attacked by his opponents' pieces. See the diagram below :
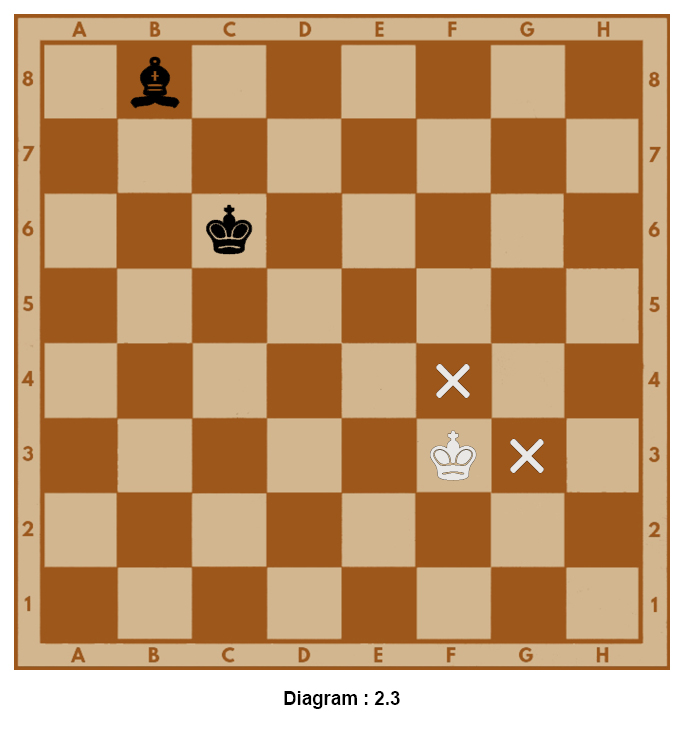
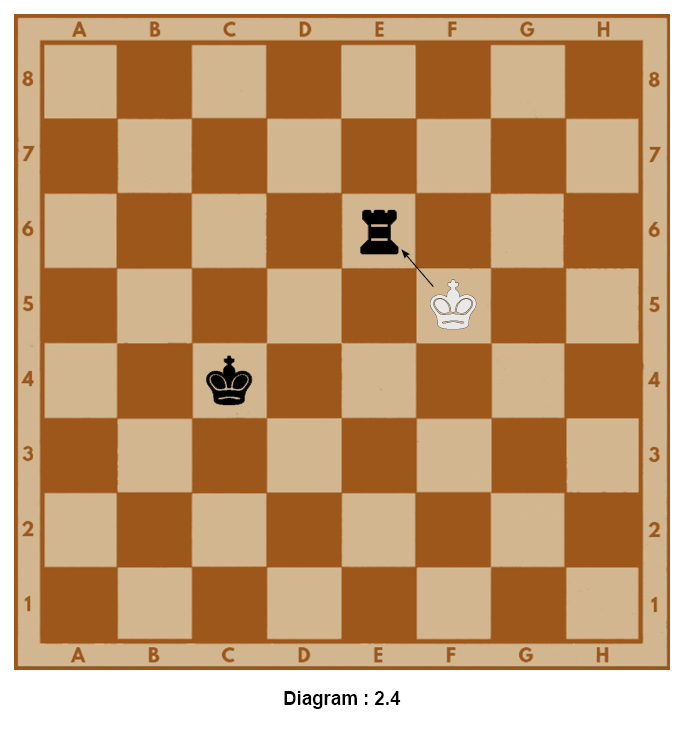
The King might capture a chessman where It can move. See the diagram (2.4) below :
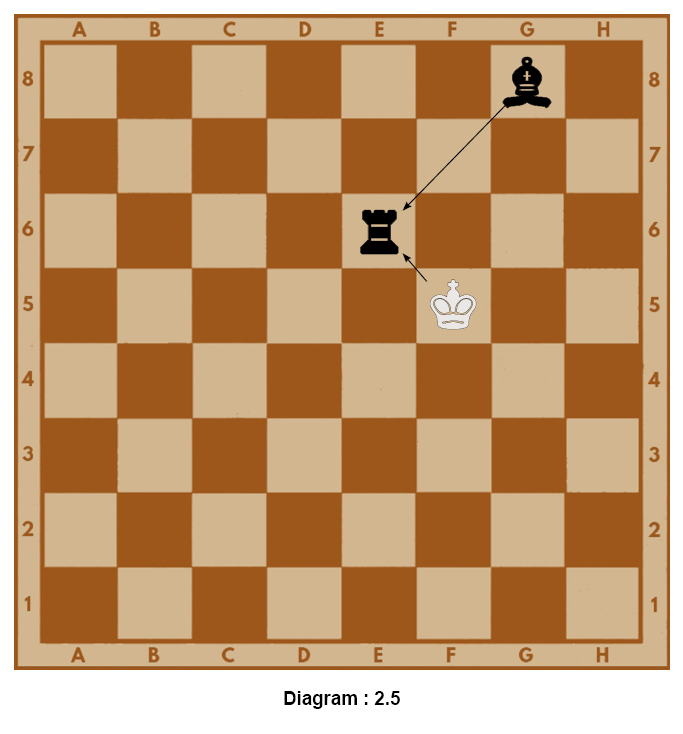
In the diagram (2.5) below, the white King cannot capture the black Rook as it is protected by a Bishop. If the King tries to capture the Rook, it would be in check. So, this move is illegal.
The diagram below (2.6) shows a position that is impossible to occur. The two Kings cannot stand next to each other. In other words, there must be at least one square gap between the two Kings.